
Steps to Installing a Home EV Charger
- lightningxelectric
- Jun 1
- 3 min read
Electric vehicles are becoming the norm. Charging at home is the smartest move. It saves time, money, and hassle. Installing a home EV charger is straightforward if you follow the right steps. I’ll walk you through the process with clear, practical advice. Let’s get started.
Why Installing a Home EV Charger Makes Sense
Owning an EV means charging often. Public chargers are convenient but limited. A home charger gives you control. You plug in overnight and wake up ready to go. It’s faster and safer than a standard outlet. Plus, it adds value to your home.
Installing a home EV charger means:
Faster charging speeds
Safer electrical setup
Convenience and reliability
Potential savings on electricity rates
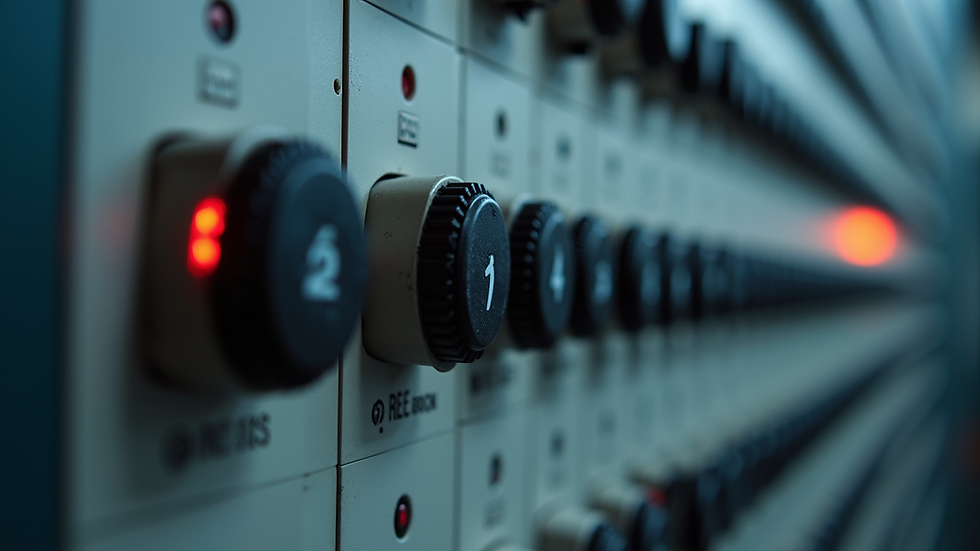
Before you start, check your home’s electrical capacity. Older homes may need upgrades. A licensed electrician can assess your panel and wiring. This step ensures your charger runs smoothly and safely.
Key Considerations When Installing Home EV Charger
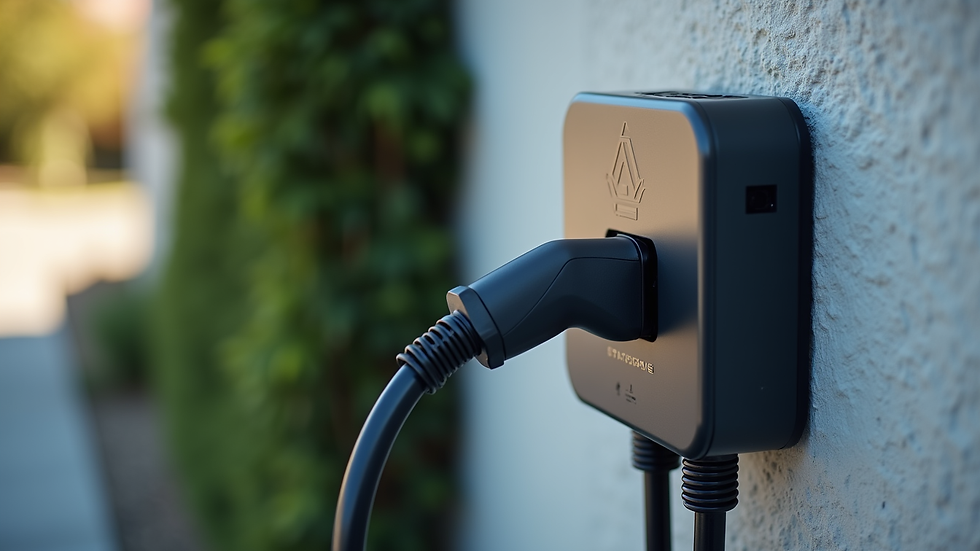
Choosing the right charger is the first step. Level 2 chargers are the most popular for home use. They deliver 240 volts and charge your car in a few hours. Level 1 chargers use a standard outlet but are much slower.
Here’s what to consider:
Charger type: Level 1 or Level 2
Power capacity: Match your EV’s charging capability
Location: Garage, driveway, or outside wall
Electrical panel: Can it handle the extra load?
Permits: Local codes may require permits and inspections
Once you have these details, you can plan the installation. I recommend hiring a professional electrician. They ensure code compliance and safety. For those in the Greater Seattle Area, ev charger installation redmond is a trusted option.
What is the 80% Rule for EV?
The 80% rule is a safety guideline for electrical circuits. It means you should not load a circuit beyond 80% of its capacity. For example, a 40-amp circuit should only carry 32 amps continuously.
Why does this matter? EV chargers draw significant power. Overloading circuits risks tripping breakers or worse, electrical fires. Following the 80% rule keeps your system safe and reliable.
When installing your charger, your electrician will:
Calculate the charger’s amperage draw
Check your panel’s capacity
Size the circuit breaker accordingly
This rule ensures your EV charger runs efficiently without stressing your home’s electrical system.
Step-by-Step Guide to Installing Your Home EV Charger
Here’s a clear, actionable plan to get your charger up and running.
1. Assess Your Electrical Panel
Start by checking your panel’s capacity. Most EV chargers need a dedicated 240-volt circuit. If your panel is full or outdated, you may need an upgrade. This is a job for a licensed electrician.
2. Choose the Charger Location
Pick a spot close to where you park your EV. Garages are ideal. If you park outside, choose a weatherproof charger. Consider cable length and ease of access.
3. Obtain Necessary Permits
Local regulations often require permits for electrical work. Your electrician will handle this. Permits ensure the installation meets safety codes.
4. Install the Dedicated Circuit
The electrician will run wiring from your panel to the charger location. They will install a new circuit breaker sized for your charger’s amperage.
5. Mount and Connect the Charger
The charger is mounted securely on the wall. The electrician connects it to the circuit and tests the system.
6. Final Inspection
A city or county inspector may visit to verify the work. This step confirms everything is up to code.
7. Start Charging
Once approved, plug in your EV and enjoy fast, convenient charging at home.

Tips for a Smooth EV Charger Installation
Plan ahead: Know your EV’s charging specs and your home’s electrical limits.
Hire professionals: Licensed electricians ensure safety and code compliance.
Consider future needs: Install a charger that can handle upgrades or multiple vehicles.
Use quality equipment: Avoid cheap chargers that may fail or cause hazards.
Schedule inspections: Don’t skip permits or inspections—they protect your investment.
Beyond Installation: Maintaining Your Home EV Charger
Installation is just the start. Keep your charger in top shape with regular checks:
Inspect cables and connectors for wear
Keep the charger clean and dry
Test the charger periodically
Update firmware if your charger supports it
Proper maintenance extends the life of your charger and keeps charging safe.
Ready to Power Your EV at Home?
Installing a home EV charger is a smart investment. It’s about convenience, safety, and future-proofing your home. Follow these steps carefully. Work with trusted electricians. And enjoy the freedom of charging your EV on your schedule.
If you’re in the Greater Seattle Area, consider professional ev charger installation redmond services. They deliver expert, code-perfect work tailored to your home’s needs.
Take control of your EV charging today. It’s easier than you think.


Comments